Setup for Android apps
This guide will walk you through registering your Android app on the Kotzilla Platform and setting up the Kotzilla SDK in your project. Follow these steps to get up and running quickly!
Step 1 - Register your application on Kotzilla
-
Log In to Kotzilla
- Go to the Kotzilla Dashboard and log in to your account.
-
Register Your Application
- On the homepage, click Register Your Application. This will launch a wizard to guide you through the setup.

-
Define Your Application Details
- Application Name: Enter your app’s name.
- Android Package Name: Enter the package name for your app (i.e,
com.example.myapp). - App Type: Select "Debug" by default.
noteIf you choose "Production," you’ll also need to provide the corresponding mapping file for your release build.*
Once registered, you’re ready to set up the Kotzilla SDK in your Android project.
Step 2 - Set up the Kotzilla SDK
2.1 Download the Kotzilla configuration file
Download the auto-generated Kotzilla.json file. This file contains your project’s configuration details.
Place the Kotzilla.json file in the app-level module directory of your Android Studio project (e.g., <project-root>/app).
2.2 Update Gradle files
Kotzilla SDK is available on both Maven Central and the Kotzilla public repository. More information on how to configure access to the Kotzilla repository is available here
In your project root folder, add the plugin and Kotzilla SDK to the build.gradle.kts:
Project (root-level) Gradle file (<project>/build.gradle.kts):
// --- Plugins ---
  plugins {
     // ...
    // Add the Kotzilla Gradle plugin
    id("io.kotzilla.kotzilla-plugin") version "version" apply false
  }
In your app module add the plugin and Kotzilla SDK dependency to the build.gradle.kts file within the module directory:
Module (app-level) Gradle file (<project>/<app-module>/build.gradle.kts):
// --- Plugins ---
plugins {
  // Add the Kotzilla Gradle plugin
  id("io.kotzilla.kotzilla-plugin")
}

// --- Dependencies ---
dependencies {
  // The Kotzilla SDK library dependency
  implementation("io.kotzilla:kotzilla-sdk:<version>")
}
2.3 Sync your project
After updating the Gradle files, sync your project in your favorite IDE to apply the changes.
Step 3 - Start the Kotzilla SDK in your app
In your Application class:
- Initialize the Kotzilla SDK using
KotzillaSDK.setup(this). - Activate Kotzilla analytics by configuring
analyticsLogger()within your Koin setup.
class MainApplication : Application() {

    override fun onCreate() {
        super.onCreate()

        // Start Kotzilla SDK
        KotzillaSDK.setup(this)

        // Start Koin with Kotzilla Analytics
        startKoin {
            // Replace your logger with Kotzilla analytics
            analyticsLogger()

            // Your Koin configuration here
        }
    }
}
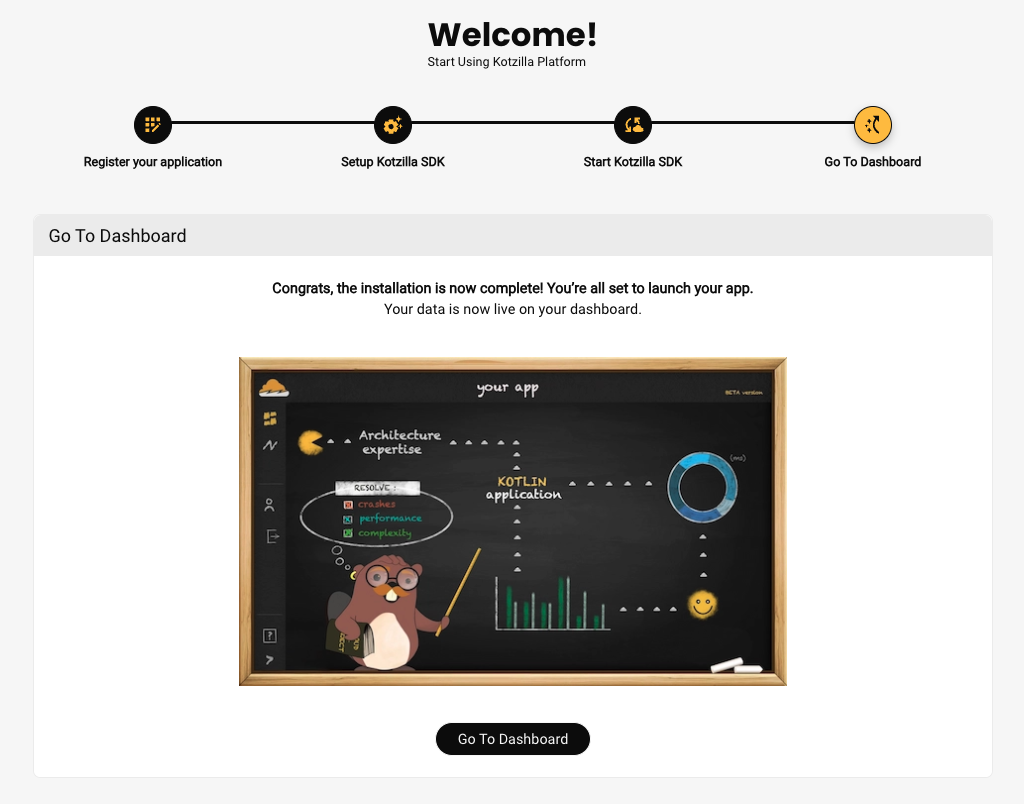
Congratulations! The installation is now complete, and you’re all set to start debugging your app.
